Courtney Warren is a Texas-based interior designer whose work has been featured in Real Simple, Better Homes & Gardens, Good Housekeeping, Apartment Therapy, and Today.com. She is a frequent consultant on Fox 4 TV’s Good Day program in Dallas, was ranked in the top 3 percent of interior designers in the US by Houzz.com, and starred in the Dallas episode of TLC’sFour Houses. She delights in helping overwhelmed clients create beautiful spaces—and will never turn down a warm chocolate chip cookie or Diet Dr Pepper.
Shop the projects
My Go-To design accessories
5 Steps to an Epic DIY Gallery Wall
I love a gallery wall. I have several in my own home, and it’s a lot of fun to help clients create gallery walls in their homes. Ready to try your hand at creating a memorable grouping? I’m happy to help with my top 5 tips on how to plan a gallery wall.
Gallery Wall Tip #1 Make it PERSONAL.
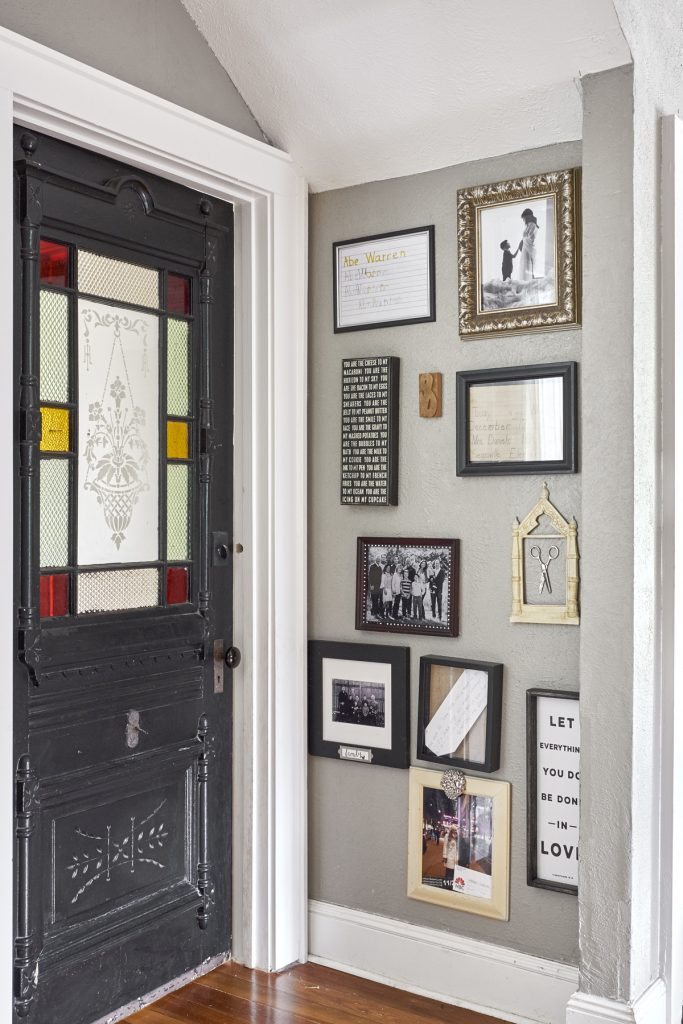
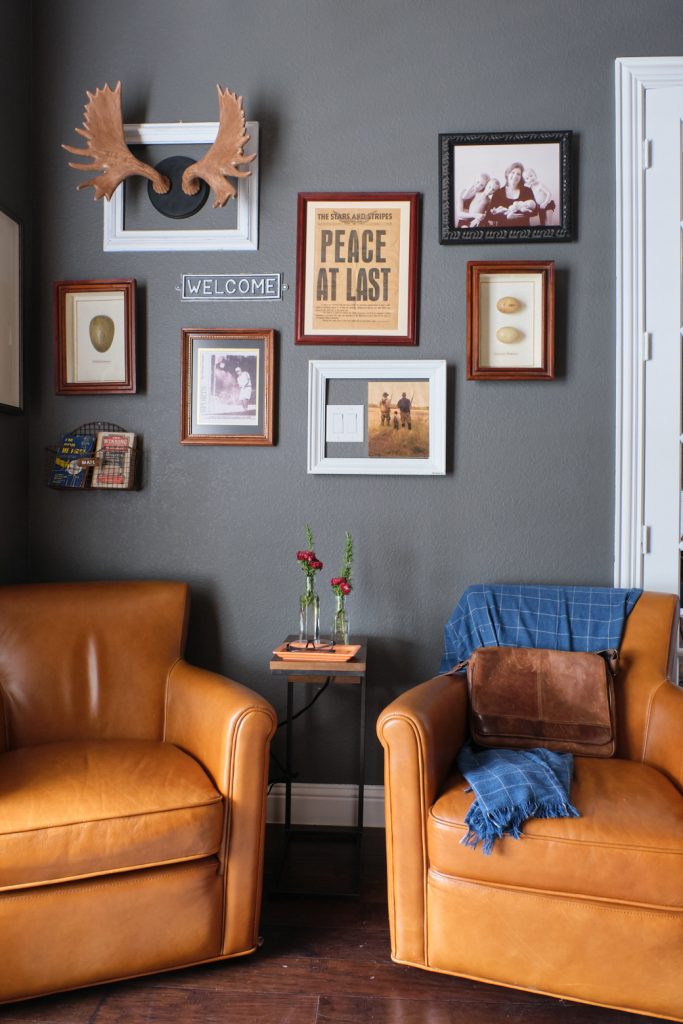
I like to incorporate memorabilia that helps to tell my family story. Even if you don’t do that, at least use artwork that really speaks to you or says something about you or yours. Whatever you do, don’t just go out to the home store and grab a dozen pieces from one themed aisle. Remember, this is your home, so take your cues for the display from your own preferences or personality. Which brings up a related tip…
Gallery Wall Tip #2 Make it PURPOSEFUL.
Your aim is not to use every framed item in that last box, or to “fill a blank wall”. Your goal should be to make an artful statement with pieces that contribute to the story you’re telling about yourself and your loved ones.
Gallery Wall Tip #3 Make it PULLED TOGETHER.
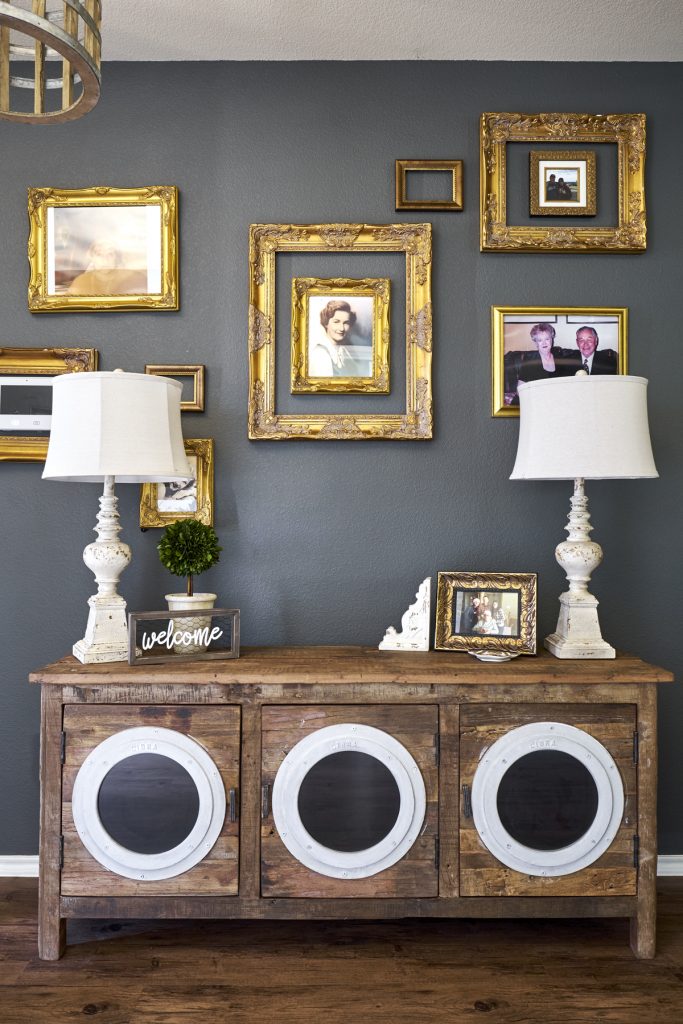
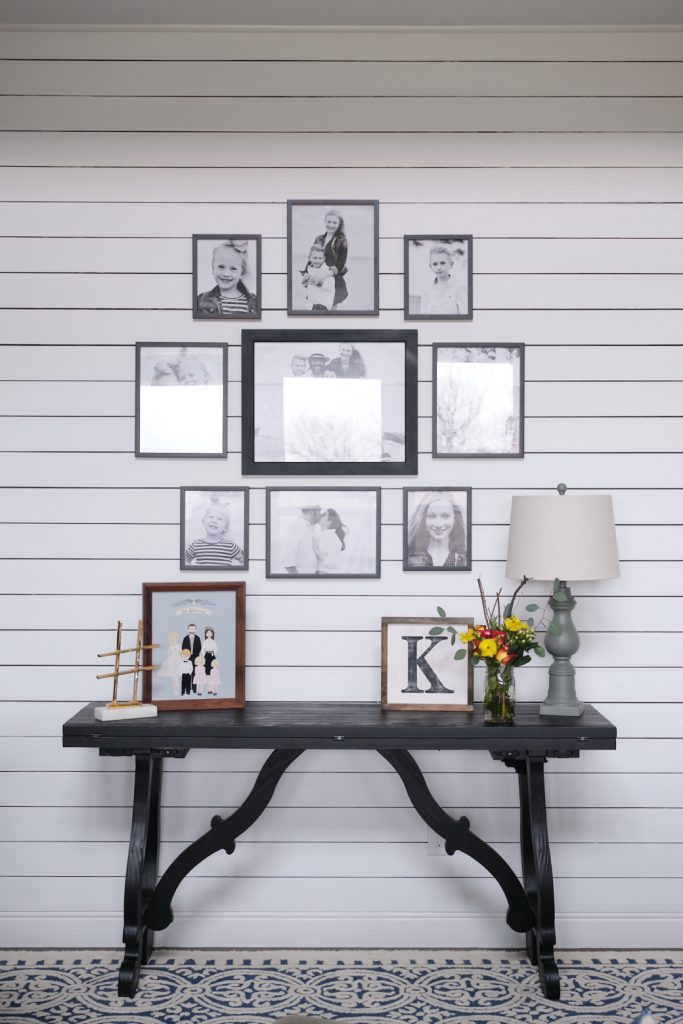
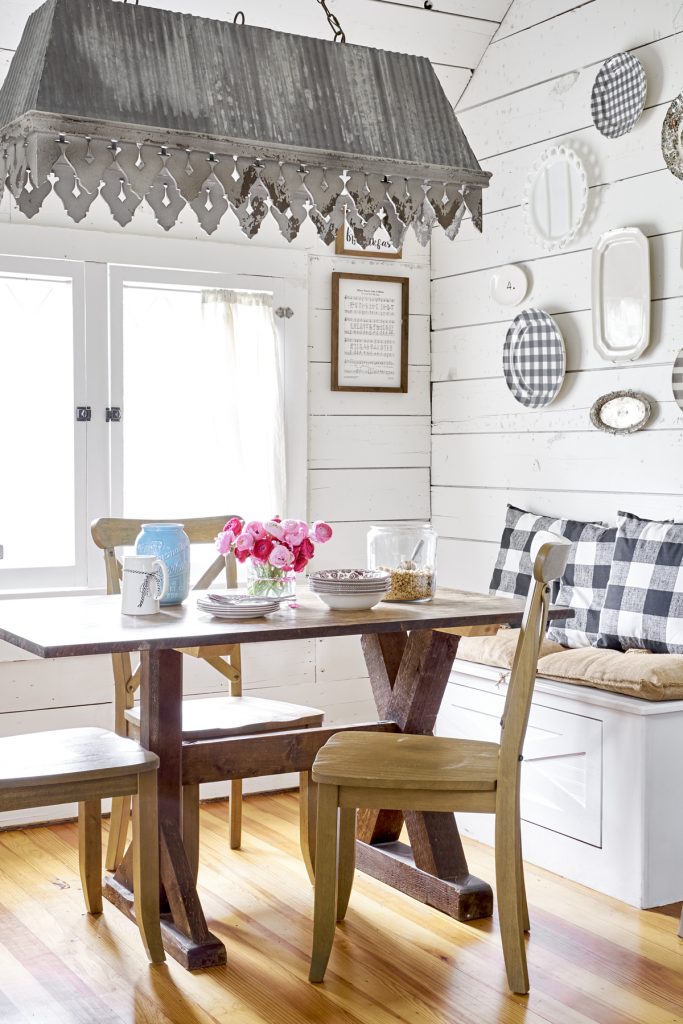
There should be some unifying element that makes viewers understand that this wall should read as one unit. That might be some repeating color among the artwork. Or the use of black and white only. Or the same kind of frame. Or even the type of subject (silhouettes, landscapes, seascapes, florals). Or in the case of an eclectic mix, a theme (nautical, farmhouse, portraiture) can tie the pieces together. But SOMETHING should make your grouping cohesive.
Gallery Wall Tip #4 Make it PLANNED.
If you’re not that person who can start with a central piece and come up with a pleasing arrangement on the fly, I suggest laying all your elements out on the floor and moving them around until they balance and hold together. If you don’t feel confident with composition or spacing, ask an artsy friend to eyeball it with you.
You can even arrange your pieces on brown craft paper sized to your wall space. When you’ve finalized your grouping, trace around the artwork with a pencil, then tape the paper to the wall. Now you’ll know just where to put your nails. (Another thought on nail placement: I’ve heard you can put a little toothpaste on your picture hangers so that when you press the art to the wall, it marks your nail spot. I have stopped short of this advice. But, hey, you might get some nice, minty fresh air out of it!)
Gallery Wall Tip #5 Make it POP.
This is an opportunity to do something unexpected. Go bold or big or bright. Let out the stops. Quirky is ok, if it’s YOUR quirky.
Paintings, portraits, or even plates–they’re all fair game for gallery walls. Have fun!
Need some help with your wall decor–or any other home design dilemma? Let’s talk!
Have some questions? No problem! I offer a complimentary, no-strings-attached phone call consultation.
Email me to book a call time–and let’s start making design fun!
